
Panel-guide
Important Note: Expand Furniture Inc declines all liability caused by the incorrect assembly of the bed or failure to mount the bed. If you fail to mount the wall bed to the wall or correctly fasten it, we do not take responsibility for this. You must purchase your own anchors appropriate for your wall type. If you are on drywall you must anchor to studs.
2026 Manual - Strapped piston method.
Helpful Notes & Tips for all installs:
- Clear your room as much as possible before you start the install. Unpacking the panels will take some time, longer than many expect, so do this in advance of your install. You will need a power drill, screw driver, ladder, wall anchors.
- Make sure it is safe and correctly mount the wall bed to your wall safely and properly. You must anchor to studs if you have drywall and make sure to use the correct wall anchors for your wall type. You can always install more anchors for added security and peace of mind. Your local hardware store or your handyman/contractor should be able to advise on this. If you have drywall you cannot anchor to drywall on it's own. We suggest using anchors with weight capacity of at least 100lbs each and using 12 of them for added security. Toggler Snap Toggle Anchors have been a popular choice for extra support on drywall with wood or steel studs. You must anchor to studs. Please do your due diligence for your wall type.
-
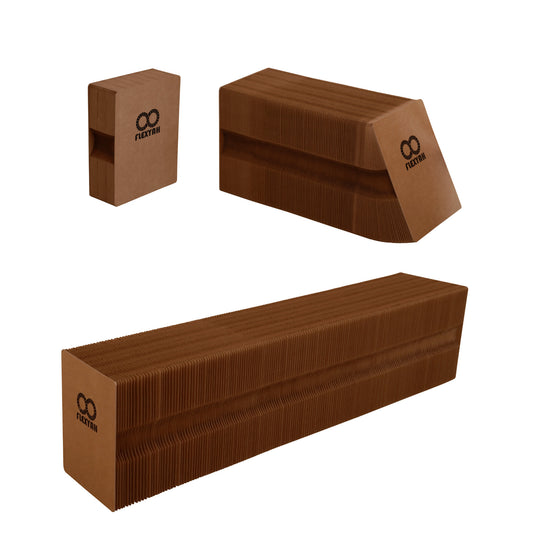
Pistons come compressed and strapped. Do not cut the straps. Pistons are inserted short side up, long side down on both sides. The pistons are installed with the straps holding them compressed and once in place the straps will come off as part of the install process. If your pistons are expanded (moving the bed or exchanging pistons) we have an alternative install method. Pistons cannot be compressed by hand. See lower down on this page.
- Adding the mattress and panels will balance the bed. Expect to use strong tension to lower the frame before these are on yet, it is normal
Full Video install of the Murphy Bed: https://vimeo.com/1183917663/c1572668b7
For adjusting face panels or re-installing pistons here is a reference to the alternative style of piston installs: Old manual - Expanded piston - Old method
To adjust the face panels after they are on we suggest you purchase some Clamps which makes installing the face panels easier. You can also have someone else hold these in place while drilling them into the frame or you could place an ottoman or an object below to hold it in place.
General notes: Attach pistons to the outside of the frame (not inside). Make sure both sides are inserted with the short side up and long side down. The photo below is with the bed open and pistons is compressed on the back. It is the long side!

Top panel not aligned?
Provided you built your bed square, if the top panel is not quite horizontally aligned there are micro adjustments you can do. They may seem small but they do shift. You can loosen the below points (1 at a time), shift them, then tighten them once shifted. Some of these shifts are only 1mm but combined the result can shift the look.

Once loosened the hinge can shift here in either direction. After it is shifted then tighten above.

The hinge can also be shifted slightly at these points below, if required, but try the above first.

Clamps example: If you need to adjust your face panels, clamps are a good way to move them to align and then add screws back.

Piston install:
Before installing pistons you must have the bed mounted securely to the wall. The pistons are installed on the outside of the frame (not the inside of the frame). Pistons cannot be compressed by hand, however some models will come with factory strapped and compressed pistons. You can install the pistons 2 ways. If the pistons are strapped and compressed they are inserted on the lowered frame. If they are uncompressed they are inserted on the raised frame.
Method 1: New assembly - pistons are strapped and compressed from the factory -
You can install the piston-strugs in the lowered bed. We suggest adding your face panels first while it is lowered and make sure they look good. After you insert the piston/strug in place and raise the bed slightly, the metal strap holding the piston compressed will come off naturally. After the pistons are installed you can now raise the bed up and down.
Method 2 - If you need to move the bed and your pistons are are extended: They can be inserted extended and will slide on if the face panel is pushed inside the cabinet. Pistons are inserted long side down, short side up on both sides. See photos below

Method 2 - Push frame inside cabinet if you are installing extended uncompressed pistons:

Video of face panel install for alternative piston install method: Start with the end-top panel first, then the middle, then the bottom-back of the bed panel. You start with the top first because it is mostly set and can only shift slightly. Once the top is installed you can set up the middle panel and line it up. Then the bottom panel.
How to do full piston swap:
Alt video of the wall bed cabinet install: Please also note there are more videos below showing details on how to install the pistons and attach the face panels.