Trojan-Guide
How to use the Trojan:
Always pick up and lower the table sides with 2 hands. Never drop them or let them fall rapidly.
Always add the support bar and make sure you place it under the support grip
Please note the plastic holder for the support leg is purposefully off center. This is normal!

Assembly guide:
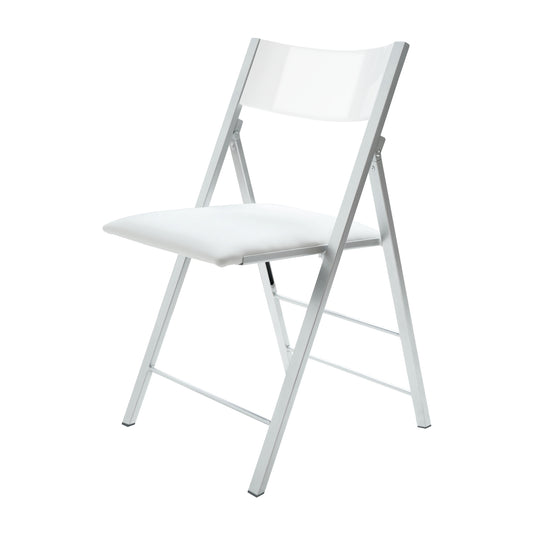
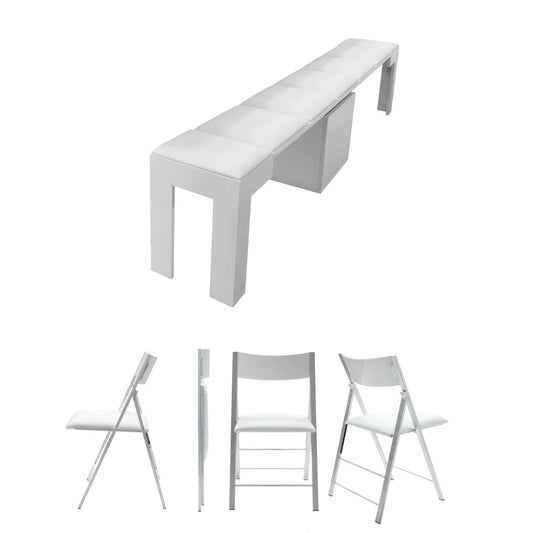
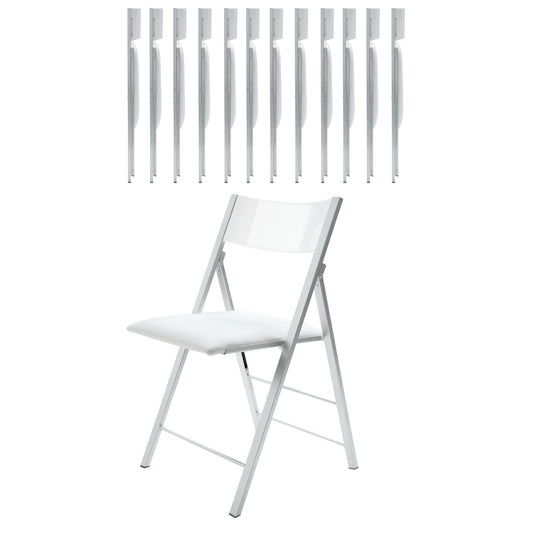
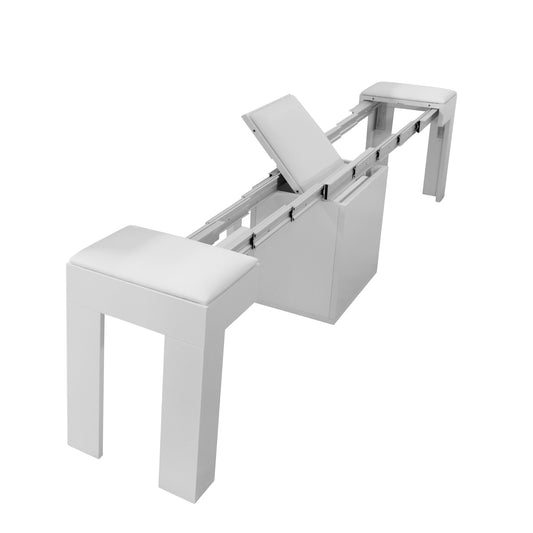
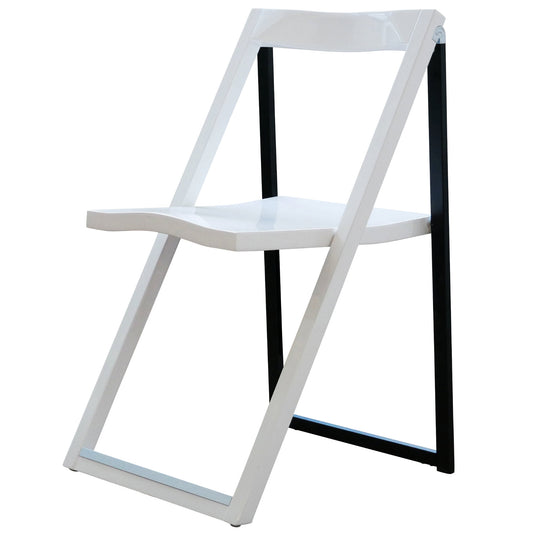
Inside your table are 4 Nano chairs in a box, these can be removed and unpacked back inside. Until late 2024 the extension leaves come detached for safe transport, but they will be pre attached after this. If your extension leaves are already attached, you do not need to follow the below steps 1 and 2 or videos 1 and 2, but can watch the 3rd video if you need to do any hinge adjustments. If you need to attach your panels, please follow the below steps:
Step 1: Important Note - if you need to attach (Older models) or adjust your extension leaves.
When installing your hinge please make sure to loosen the middle bolt (on the table side hinge) completely before inserting the large bolt that connects the hinge. This will make for a tighter connection. Please loosen this hinge bolt before proceeding

Step 2: Installation
Next we attach the table leaves to the base & tighten the hinges. You will need to remove the tabletop first and swap in the new upgraded hinges which you will receive in another small package if you have a White Gloss unit - see video attached below.
Some customers might prefer to first move the support leg to the middle and balance the panel on top. Or you can do as we show in the video. Either works, skip to 3:45 in the video if you have a non white gloss unit, as you will not need to swap the hinges.
When inserting your connection bolt please try and make sure this is straight and not at an angle. Forcing this bolt in can de-thread the bolt. If the bolt is straight it should go in easily without much force. If you strip the bolt please see the solution at the bottom of this page.
Before lowering the panels, while it is still on the support bar, jiggle and pull the panel a bit to make sure it is connected properly.
https://www.youtube.com/watch?v=Hw3YTBJ7zH0
Here is a guide on how to adjust the hinges that hold the panels. If you have a gap adjusting the big screw/bolt can tighten or loosen this.
After the boards are installed and if you still have a gap it can be adjusted further: The small bolt adjusts the hinge up and down. Please see the video:

Trouble shooting:


A self tapping screw or the original bolt will do the same job. If a threading is off the self tapping screw is as strong or stronger once inserted.

